Michelle Vine Walters + CO.

  • Early Spring Baked Salmon Salad

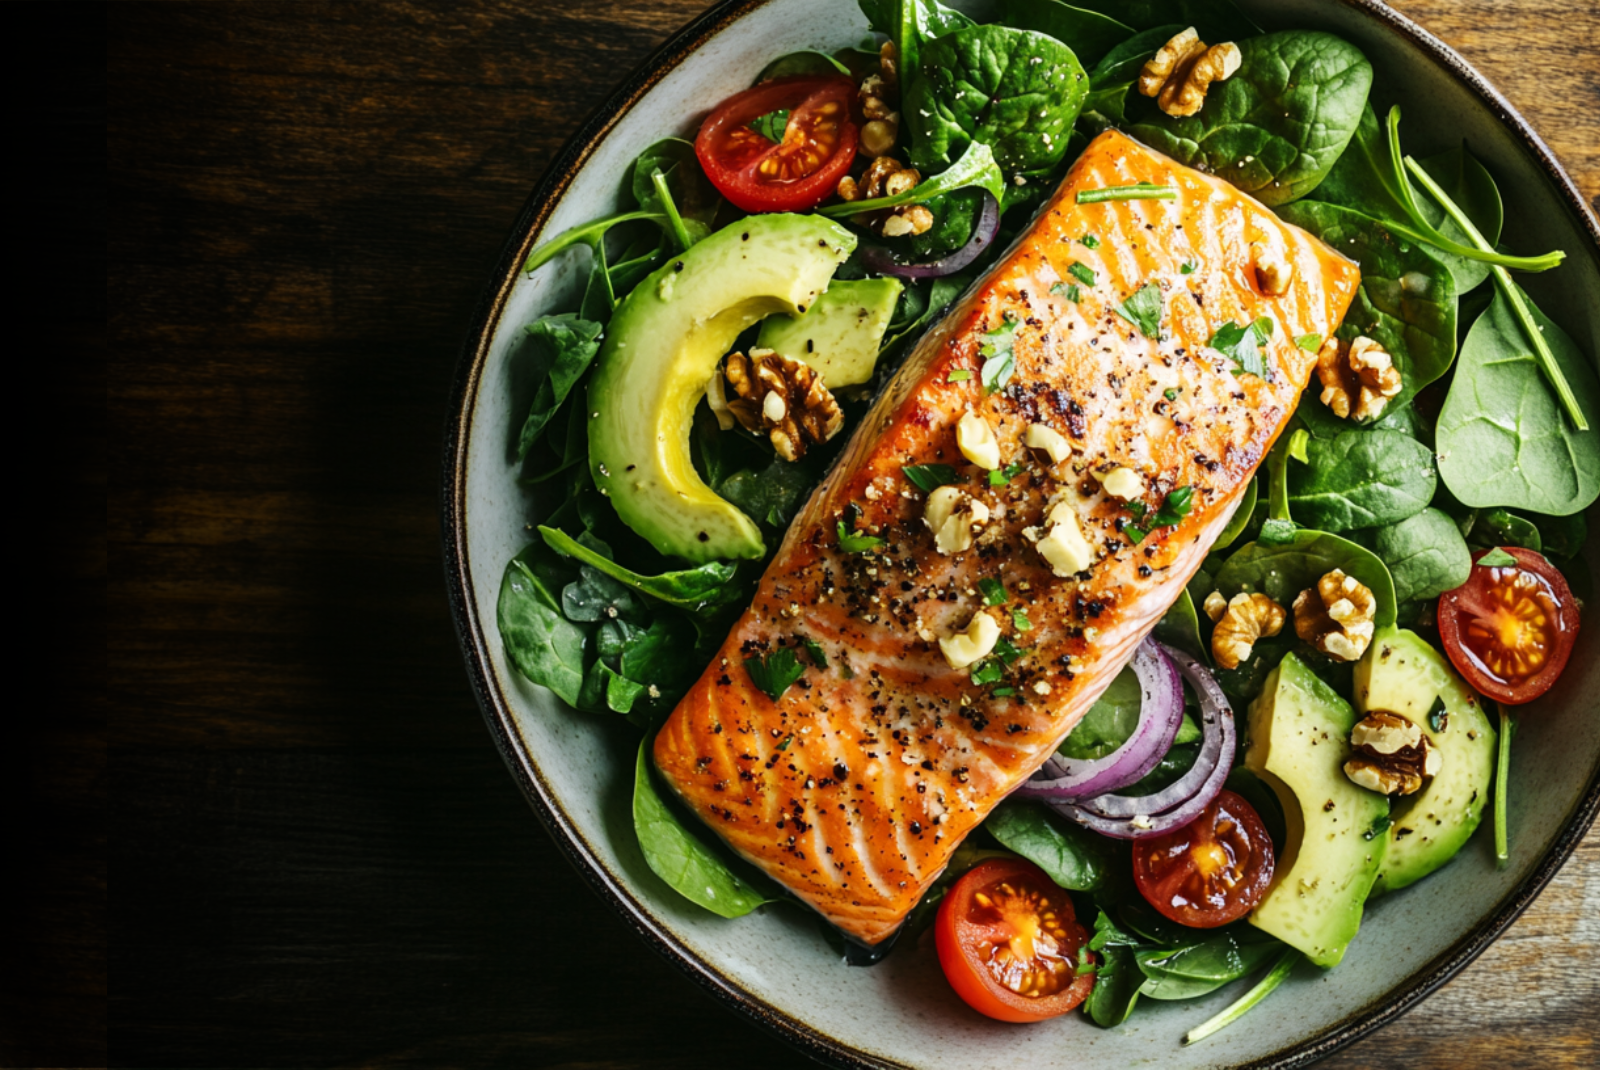
    Early Spring Baked Salmon Salad

    There is always a moment when the kitchen begins to change with the seasons.

    After months of slow braises, roasting pans, and meals meant to warm the house, spring quietly asks for something different. Not elaborate. Not dramatic. Just something a little lighter, a little brighter.

    This baked salmon salad is exactly that kind of meal.

    It’s the sort of dish you make when winter hasn’t completely left, but you can feel the shift beginning. Fresh greens replace heavier sides, lemon and herbs return to the table, and dinner starts to feel a bit more alive again.

    The salmon is baked simply with pantry spices and finished with a small pat of butter that melts gently over the fillet while it cooks. Once it rests, it’s placed over a bowl of baby spinach and finished with creamy avocado, crisp red onion, sweet cherry tomatoes, and a handful of chopped walnuts for texture.

    It’s nourishing without being heavy, simple enough for a quiet dinner at home, and easy to double if someone happens to join you at the table.

    Sometimes the best meals are the ones that feel effortless.

    For the full recipe and so much more, please subscribe to At The Table on Substack

  • Sweet Curry Chicken and Yams

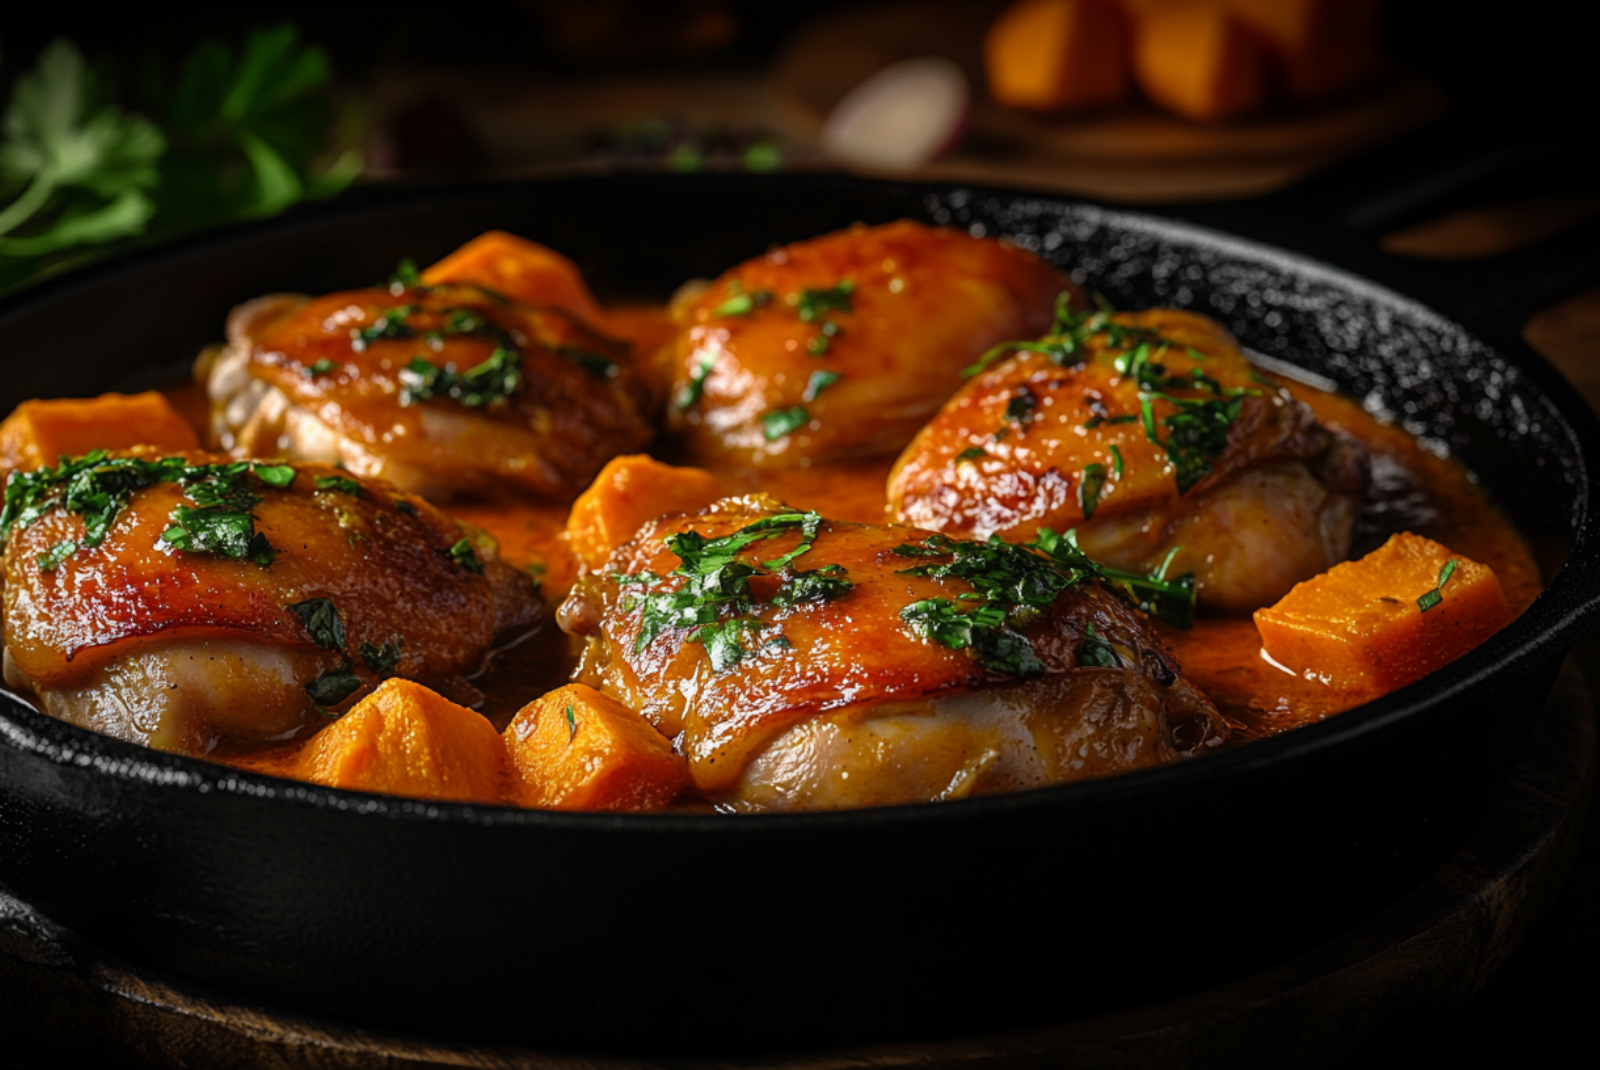
    Sweet Curry Chicken and Yams

    Imagine curling up with a bowl of pure comfort – that’s exactly what you’ll find in this dreamy Sweet Curry Chicken and Yams dish. Each spoonful is a delightful dance of sweet and savory flavors that never fails to make my heart sing. The best part? This cozy one-pot wonder comes together with minimal fuss, leaving you more time to savor the moment (and fewer dishes to wash!). It’s the kind of recipe that feels like a warm hug for both your taste buds and your busy schedule.

    Total 1 hour and a half including prep time • Active 20 minutes. Makes 5 servings.

    Ingredients:

    • 5 chicken thighs, bone-in with skin
    • 2 yams, peeled, cubed
    • ¾ cup mayo
    • 2 tsp curry powder
    • 1 tsp onion powder
    • 1 tsp garlic powder
    • 1½ tsp Better than Bouillon Roasted Chicken(bouillon powder or chicken soup mix works as well)
    • 1 cup boiling water
    • 1 tbsp honey

    Directions:

    In a cast iron skillet, heat oil over medium-high heat. Season chicken with 1 teaspoon each of salt and pepper and place it in the pot, skin-side down. Cook until the skin is crisp, about 7 minutes. Flip and cook another 3 minutes. Remove from the pot and set aside.

    Dissolve the Boulion (bouillon powder or soup mix) and honey in the boiling water.

    In a small bowl, combine mayo, curry powder, onion powder, and garlic powder; mix well.

    Add the yams, half the mayo curry, and Boulion mix to the pot and cook for about 5 minutes. Bring to a nice simmer and place the chicken skin-side up on top of the yams, being careful not to completely submerge the chicken in the sauce. Spread the remaining mayo curry over the top of the chicken. Reduce heat to medium-low, cover, and cook until the yams are tender, about 45 minutes.

    Garnish with fresh herbs. Enjoy!

  • Sweet Potato Cheesecake

    Sweet Potato Cheesecake

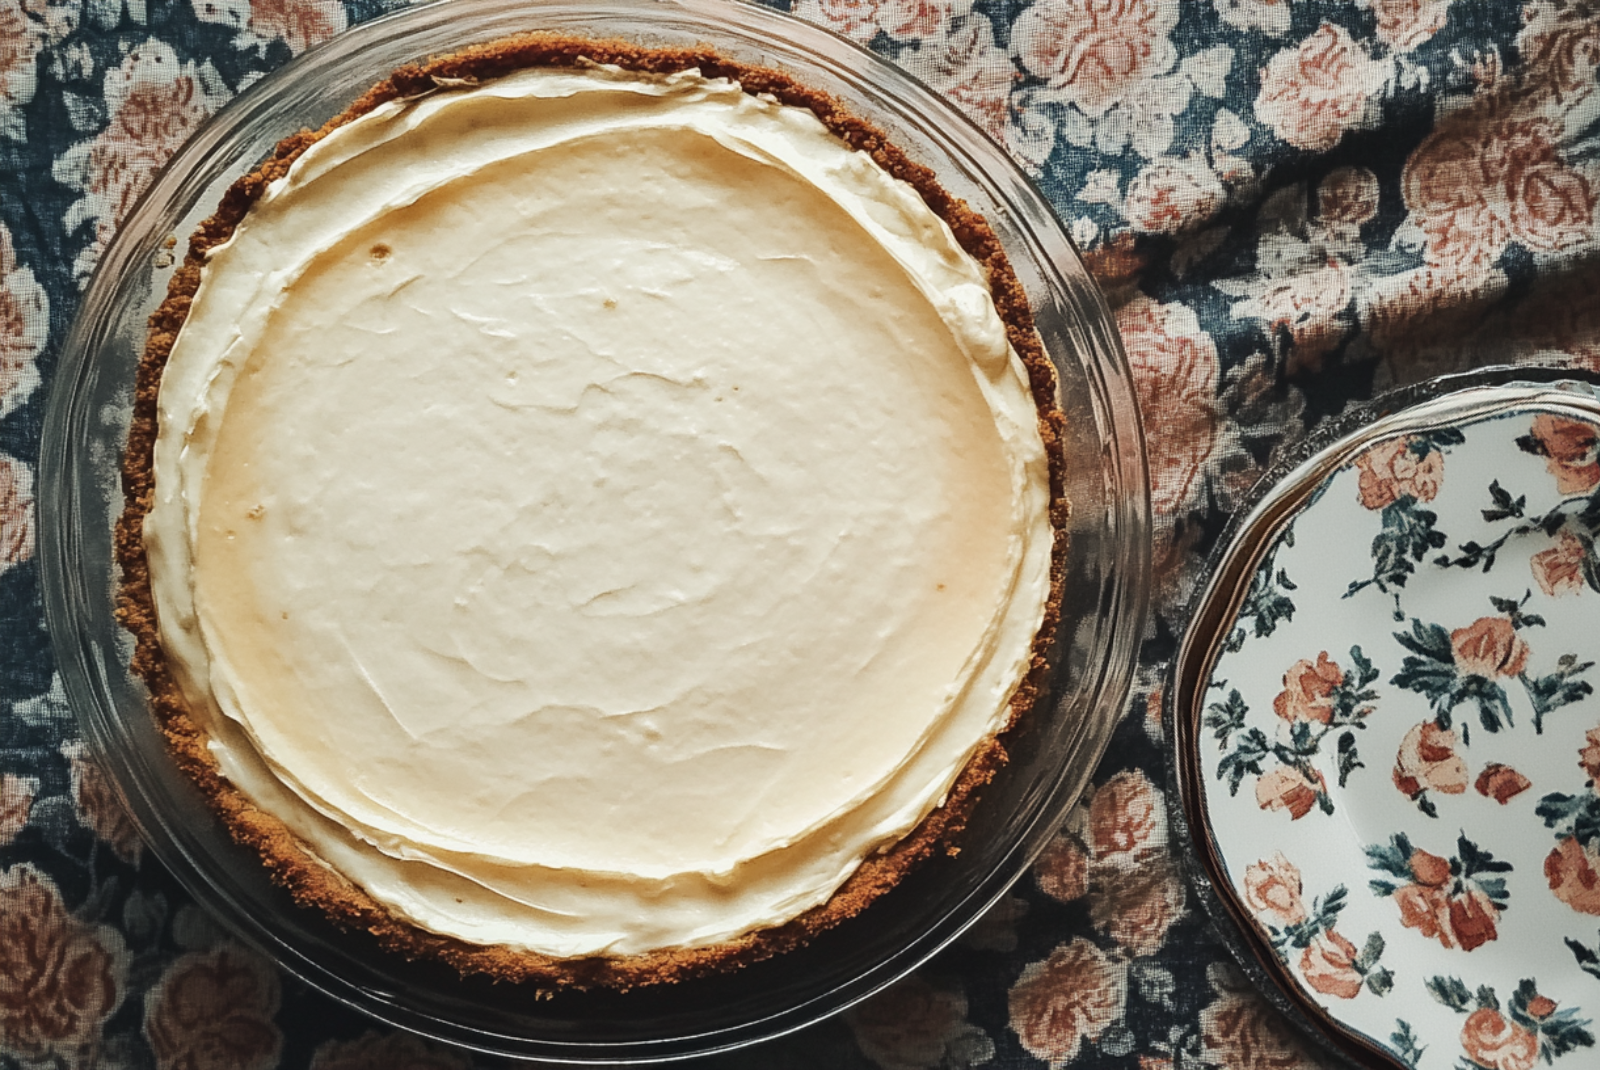
    Here’s the irresistible treat that started it all: my Award-Winning Sweet Potato Cheesecake! So, what makes it “award-winning,” you ask? Well, it won an award—and here’s how!

    Back in 2015, I was singing in our church choir, and every November, leadership would throw a dinner featuring a friendly little cook-off. The competition? A savory Crock-Pot showdown and a decadent dessert duel. I decided to put my Sweet Potato Cheesecake in the ring, and it stole the show. The votes weren’t even close—it was a landslide!

    With Thanksgiving just around the corner, a couple of fellow choir members asked if I could whip up a cheesecake for their holiday gatherings. And here’s where things got interesting: they actually paid me! That little spark got me thinking, “Could this be something more?” I had just stepped into life as a stay-at-home mom, and the idea of bringing in some extra income was enticing. Four months later, Elle & Vine Bake Shoppe was born—a delivery service for my homemade treats that I ran for nearly two years. Those were some sweet times, and I learned so much about the journey of a new business owner.

    So here’s to the creamy, dreamy dessert that launched it all—one slice of cheesecake magic at a time!

    Sweet Potato Cheesecake

    The secret to crafting the ultimate cheesecake? Use white sweet potatoes—not yams!

    Ingredients:

    Crust

    • 2½ cups graham cracker crumbs
    • ½ cup butter, melted
    • ½ cup granulated sugar

    Puree

    • 3 large white sweet potatoes, peeled & cubed
    • 1 tsp ground cinnamon
    • ½ tsp ground nutmeg
    • ½ tsp ground ginger
    • ¼ tsp ground cloves

    Filling

    • 5 packages (8 oz) cream cheese
    • 1¾ cups granulated sugar
    • 3 tbsp all-purpose flour
    • 1½ tsp orange zest
    • 1 tsp vanilla extract
    • 5 large eggs
    • 2 egg yolks
    • ¼ cup heavy cream
    • Philadelphia Cheesecake No Bake Filling (optional)

    Instructions, Crust:

    Preheat oven to 375° F.

    In a bowl, toss crumbs with butter and sugar until moistened. Pour into a springform pan; press over the bottom and up the sides of pan. Bake for 5 minutes. Remove pan from oven. Increase temp to 450°F.

    Instructions, Puree:

    Place the cubed sweet potatoes in a large pot and cover with water. Add a pinch of salt. Bring to a boil and cook for 20–25 minutes or until the sweet potatoes are very tender.

    Pour the potatoes into a colander to drain, and return the pot to the stove. Transfer the potatoes to a food processor or hand-held mixer with cinnamon, nutmeg, ginger, and cloves. Blend until smooth.

    Set puree aside.

    Instructions, Filling:

    In a large bowl with an electric mixer at high speed, beat the first 5 ingredients until well blended. Lower speed, beat in eggs and yolks one at a time. Scrape down sides of bowl, and beat in cream.

    Mix cream cheese filling with puree until combined.

    Pour filling into prepared pan . Bake 10 minutes. Lower oven temp to 250°F. Bake for 1 hour longer or until the center is set but not firm. Remove to a cooling rack; let cool for 2 hours. Add a topping or leave it plain.

    For a bouquet of flavor, spread a thin layer of Philadelphia Cheesecake No Bake Filling over the top.

    And this, my friends, Is the best Sweet Potato Cheesecake you will ever eat!

    As we dive deeper into the best baking season of the year, I’ll be sharing more of my holiday favorites! To keep the cheesy goodness going, why not start with my Four Cheese Creamy Macaroni? It’s pure comfort in every bite!

  • Four Cheese Creamy Macaroni

    Four Cheese Creamy Macaroni

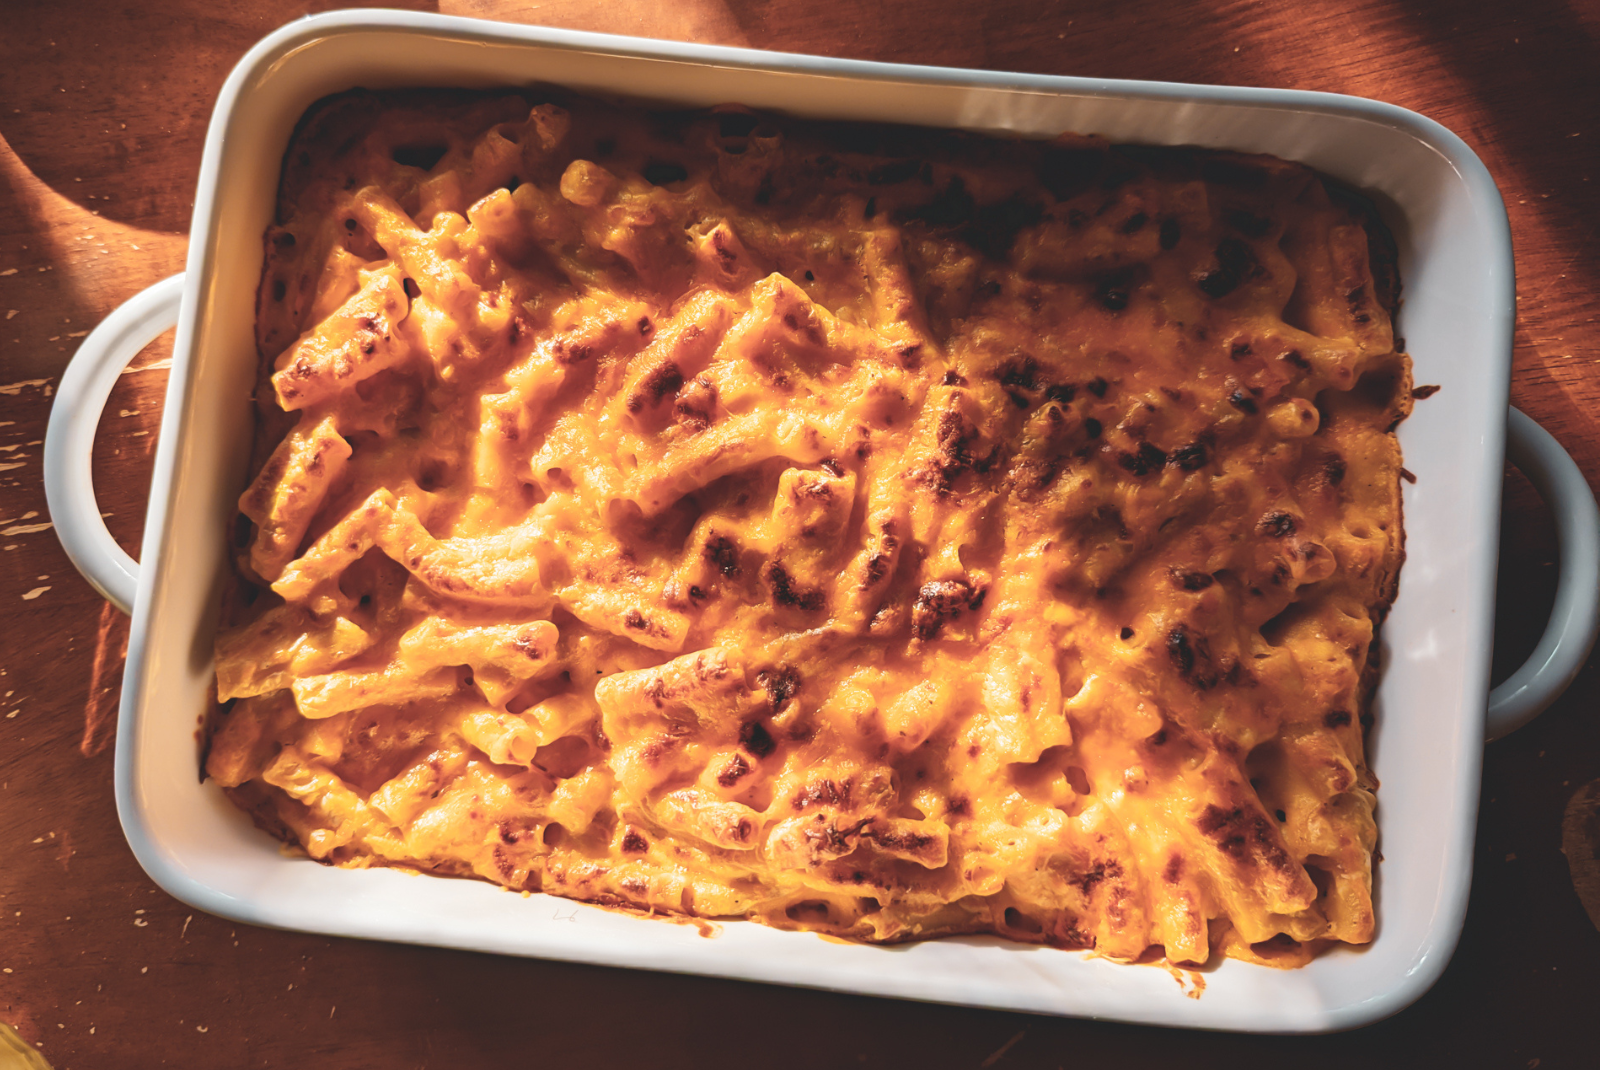
    Baked Creamy Macaroni & Cheese is a staple food of comfort cuisine. From the Thanksgiving tablescape to the festiveness of Christmas, (or whichever holiday you celebrate) this is the season’s must-have dish. With it’s warm gooiness and just so crisp topping. How can you not indulge?

    Ingredients:

    • 16 ounces Ziti
    • 3 tbsps unsalted butter
    • 3 tbsps all-purpose flour
    • 2½ cups whole milk
    • ½ tsp ground black pepper
    • 2 tsp chicken bouillon
    • 2 tsp garlic powder
    • 4 ounces cream cheese
    • 2 cups Colby Jack cheese, shredded
    • 2 cups sharp cheddar, shredded
    • 1 cup smoked Gouda, shredded

    Directions:

    Preheat oven to 375° F.

    Cook the Ziti according to the package instructions; drain and set aside.

    In a saucepan over medium heat, melt the butter, add flour and stir until a paste is formed; cook an additional 1 minute. Slowly add in milk ¼ cup at a time whisking constantly until 2½ cups have been added. Add in bullion, garlic powder, and pepper; whisk until combined.

    Add in the cream cheese; whisk until combined. Add Colby Jack and 1 cup of cheddar 1 cup at a time; making sure cheese is melted in between each addition. Add the Gouda; whisk until cheeses are completely melted.

    In a large mixing bowl, combine Ziti and 2 cups of the cheese sauce. Transfer mixture into a 9×13 inch casserole dish. Pour the remaining cheese evenly over the top with the remaining cup of cheddar cheese.

    Bake until thoroughly heated, about 35 minutes.

    For a crispy topping, set oven to a low broil and broil the mac and cheese until desired brownness is achieved.

    cover images created by Michelle Vine Walters & Quiet Josephine

  • Citrus Brioche Rolls

    Citrus Brioche Rolls

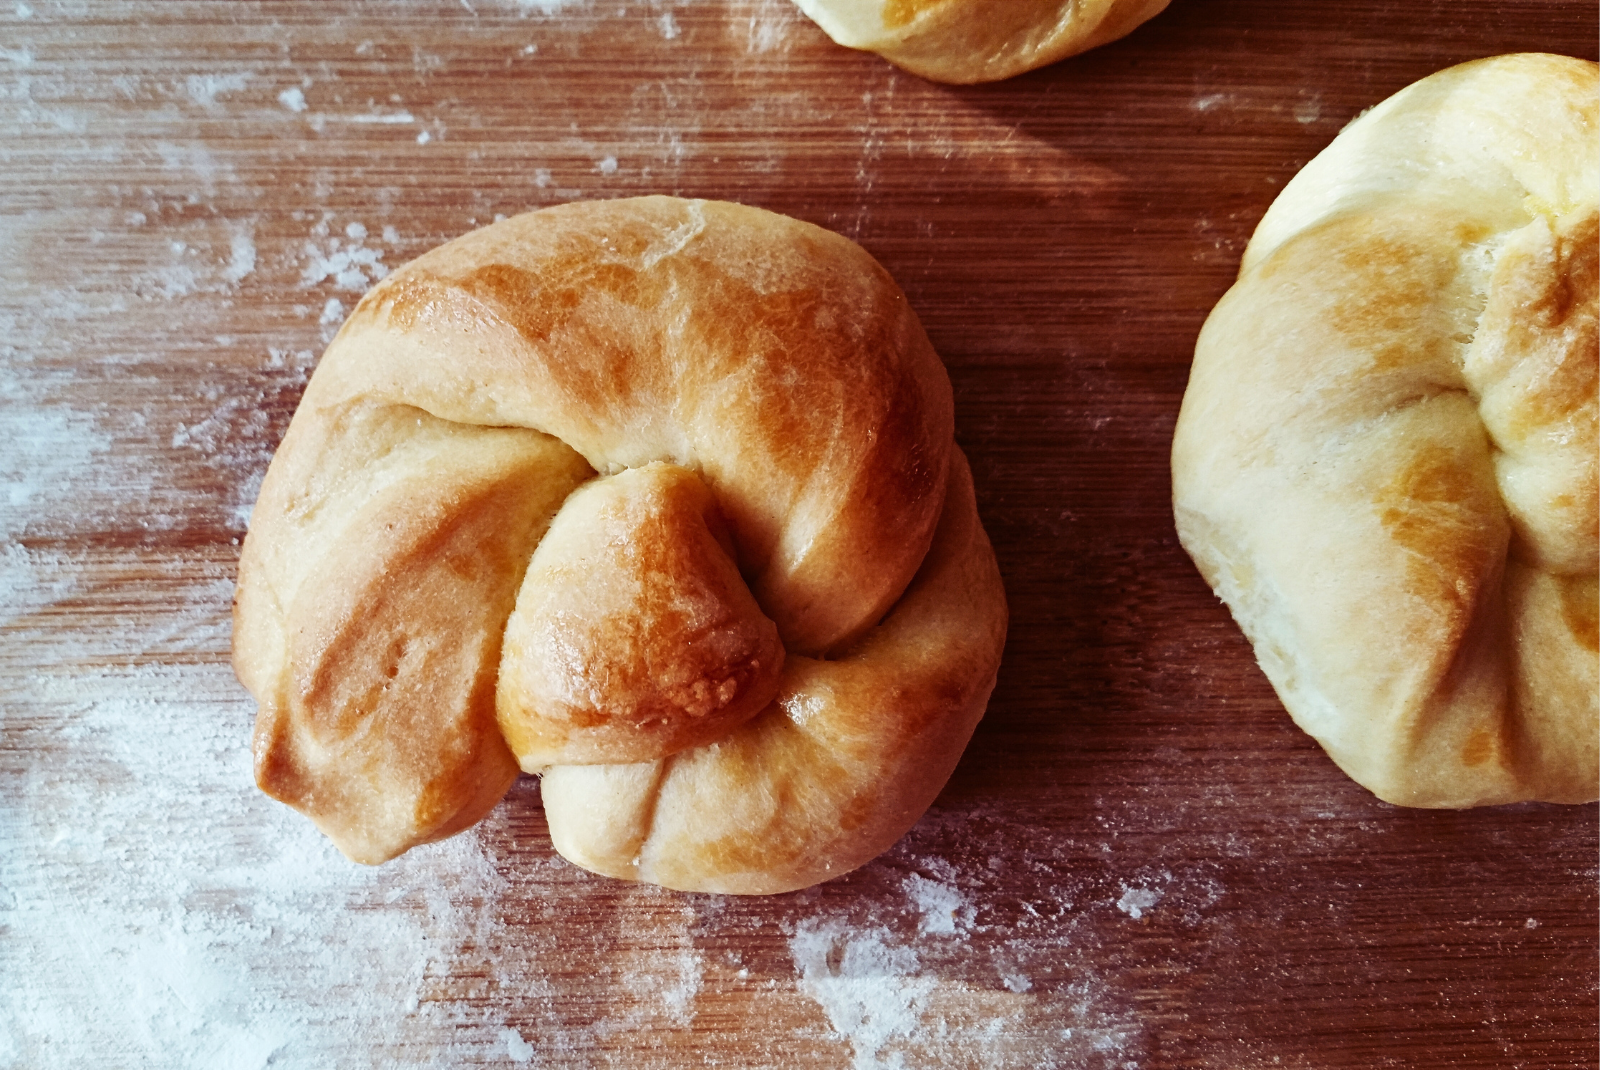
    Subtle sweetness; buttery, fluffy dough, twisted into delectable pastries. These Citrus Brioche Rolls are a wonder addition to a summer brunch or as a vanilla ice cream covered because “I deserve it” treat.

    Ingredients; Citrus Brioche:

    • 5¾ cups all-purpose flour
    • 3 tsp active dry yeast
    • ½ cup sugar
    • 2 tsp salt
    • ⅔ cup cold water
    • 5 large eggs
    • 1¾ salted butter, room temp
    • 1½ tsp orange zest
    • 1 tsp lemon

    Additional Ingredients:

    • 4 tbsp salted butter
    • 4 tbsp sugar
    • 3 tbsp orange juice
    • ¼ cup heavy cream

    Directions:

    1. Place all the citrus brioche ingredients into a large mixing bowl of a standing mixer. Add the salt and yeast to opposite sides of the bowl.
    2. Using a dough hook attachment (if you have one) knead the dough for about 20 minutes or until dough begins to pull away from the sides of the bowl.
    3. Divide the dough into 2 parts, wrap in plastic, and chill overnight.
    4. Preheat your oven to 350° farenheit.
    5. Roll out one of the dough portions with a rolling pin to about an 8×14 inch rectangle.
    6. Brush half the melted butter over the top and sprinkle with half the sugar.
    7. Fold the dough in half short ways; roll out the dough again (to about 10×14 inches); then cut into 1-inch strips.
    8. Twist each of the strips.
    9. Start with one end and wrap the strip into a snail-like shape; tucking the opposite end underneath. Place on a baking sheet lined with parchment paper.
    10. Repeat with the 2nd dough portion and allow dough to rest and rise about 45 minutes.
    11. Brush the rolls with the heavy cream and orange juice; sprinkle some extra sugar.
    12. Bake for 20 minutes or until golden. Place on a wire rack to completely cool.

    And there you have it! A roll as sunny as the season. Enjoy!

  • Evergreen Minis

    Evergreen Minis

    In 2013 I decided to leave my job in the medical field to stay home with my two children. I started baking out of financial obligation. We were down to one income, so purchasing all treats from the grocery store wasn’t practical. From there, I really enjoyed baking and started experimenting with different flavors. 

    In early 2014 we found out we were pregnant. I was craving food but couldn’t figure out exactly what I wanted. Hence, I ventured further into experimentation for example apples, cream cheese, smoked Gouda, and sweet potatoes (not yams but white sweet potatoes). Delicious BTW.

    In November 2015, I entered a dessert contest at our church and won first place. I had two people ask (and offered to pay) if I would make my cake for their Thanksgiving gatherings. I continued to receive requests for different baked goodies. In March of 2016, I started a baked goods delivery service. Unfortunately, with 3 young children and all of my responsibilities, it became too taxing to keep up solo. In 2017 I made a choice to close my business. 

    I still enjoy baking, I find it calming. I love the look on someone’s face when they try a treat I’ve made and it’s the best thing in the world for them. I will open the business again, hopefully soon.

    As I mentioned before, it’s calming. Walking into a clean kitchen and pulling out all your ingredients and tools. Sometimes I work from a recipe and other times I just let it flow. For instance, if I’ve been to a restaurant and I like what I had, I’ll try to recreate it in my own style. Simply based on what I think was in the recipe. Honestly, it’s a form of expressive art for me.

    In my circle, no one bakes from scratch anymore. It’s all store-bought or from a box. I bake everything from scratch. But what makes me unique is I create from the smell. It could be a candle or something someone is cooking. Somehow that translates to taste. I get the ingredients I know I smell and then I fill in the rest. It’s been a disaster a few times but most often it’s a hit. I have the ability to make things taste as they smell. It’s my superpower.

    I’m a Seattle girl at heart but a southern girl in soul (shout out Alabama). I like to incorporate the flavors of PNW in my baking with a pinch of southern charm to give a warm cozy vibe. It’s hard to explain the feeling behind it. I just want it to taste like home. 

    Here is a taste of  Western Washington with a down-home vibe. 

    Pie Crust:

    1 cup unsalted butter

    2½ cups all-purpose flour

    1 tsp salt

    1 tsp granulated sugar

    ¼ – ½ cup cold water

    Filling:

    2 tbsp salted butter

    5 Granny Smith apples, peeled and diced into small pieces

    ⅓ cup granulated sugar

    ¼ cup brown sugar (light or dark)

    ½ tsp cinnamon

    ¼ tsp nutmeg

    1 tsp orange zest

    1½ tsp lemon zest

    ¼ cup maple syrup

    2 tbsps honey

    1 egg

    1 tbsp milk

    Pumpkin Spice Syrup:

    1 cup granulated sugar

    6 tbsps butter (salted or non)

    ½ cup heavy cream

    ¼ tsp salt

    1½ tsp pumpkin spice

    Directions, Crust:

    Place the flour, salt, and sugar in a large mixing bowl, and mix to combine. Cut each stick of butter into pieces, add to the flour mixture; the mixture should resemble a coarse meal with small pieces of butter, the size of small peas, remaining visible.

    Drizzle cold water over the flour-butter mixture, and blend. You may have to add more water: If the dough squeezed together holds its shape, you’ve added enough; if the dough crumbles, continue incorporating water, 1 tablespoon at a time, checking after each additional tablespoon.

    Turn the dough out onto a clean work surface. Divide into two equal pieces, and place on two separate sheets of plastic wrap. Flatten, and form two disks. Wrap, and refrigerate for at least 1 hour.

    Directions, Filling:

    Melt butter in a skillet over low-medium heat. Add in the apples, sugars, cinnamon, nutmeg, zests, syrup, and honey. Bring to a simmer, stirring occasionally.  Allow simmering for 2-3 minutes. Remove from heat; let cool for at least 30 minutes.

    Directions, Pumpkin Spice Syrup:

    Heat granulated sugar in a medium heavy-duty saucepan over medium heat, stirring constantly with a rubber spatula. Sugar will form clumps and eventually melt and thicken. Be careful not to burn it.

    Once the sugar is completely melted, stir in the butter until melted and combined. Be careful If you notice the butter separating or if the sugar clumps up, remove from the heat and whisk to combine it again.

    After the butter has melted and combined with the caramelized sugar, stir constantly as you slowly pour in the heavy cream. After all the heavy cream has been added, stop stirring and allow to boil for 1 minute. It will rise in the pan as it boils.

    Remove from heat and stir in the salt and pumpkin spice. Allow to slightly cool down before using. Caramel thickens as it cools.

    Cover tightly and store unused portions.

    Directions, Hand Pies:

    On a lightly floured work surface(flour rolling pin as well), roll out one of the discs of chilled dough Turn the dough about a quarter turn after every few rolls. At any sign of sticking, sprinkle some flour underneath then keep rolling. Roll out until it’s about 12 inches in diameter and about ¼ inch thick. Using a 3-3½ inch round cookie cutter; cut into circles. Re-roll and cut any scraps. Place cut circles in the refrigerator to keep cold. The colder the shaped dough, the easier it is to work with. Repeat with the remaining pie disk. Refrigerate cut circles for at least 15 minutes before filling the hand pies.

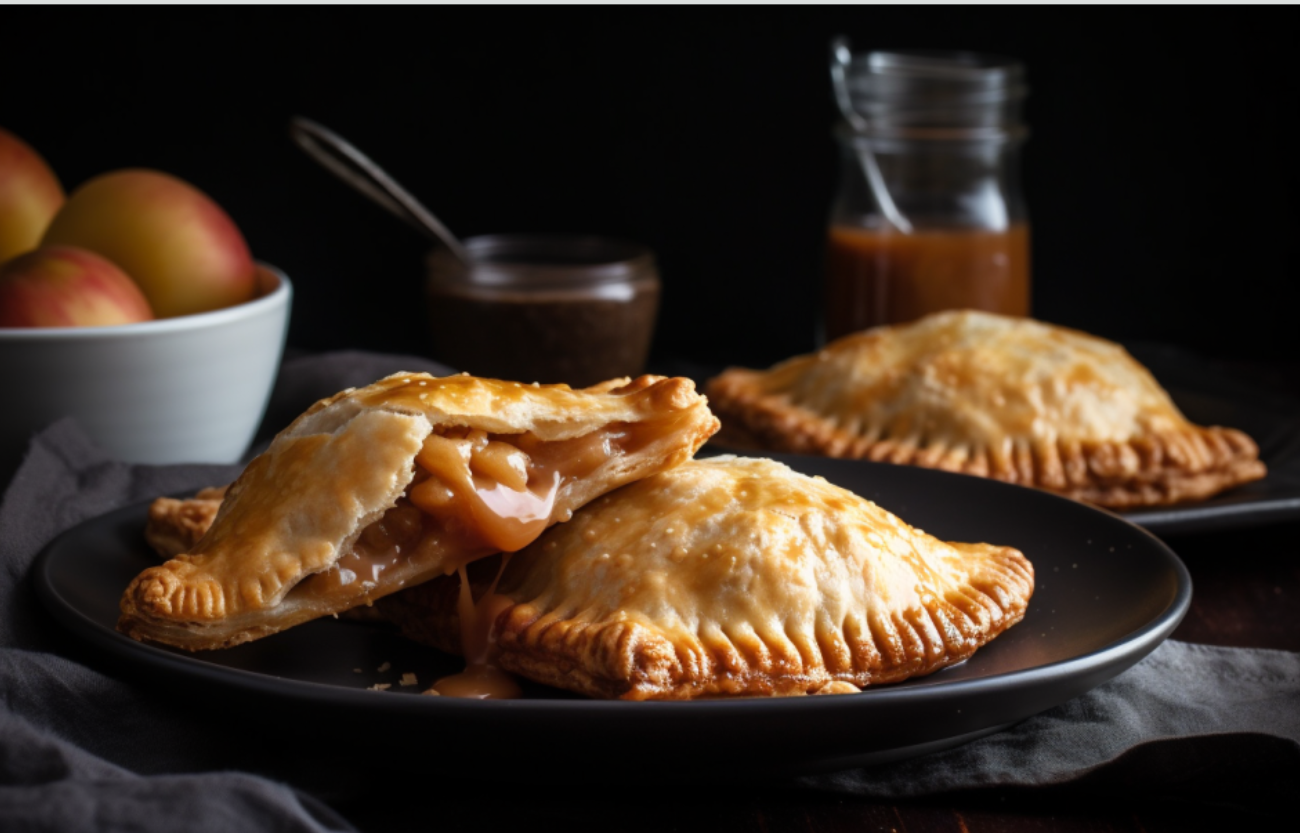
    Arrange half of the pie circles about 3 inches apart on prepared baking sheets(for bottoms of pies). Cut two slits into the remaining circles(for the tops). Place about 2-3 Tablespoons of filling in the center of each bottom crust. Drizzle syrup over the filling. Place top crust on top. Press your fingers all around the edges to seal, then crimp with a fork. Some of the fillings may ooze out, no worries. Lightly brush the top of the pie crust with egg wash mixture. Sprinkle with coarse vanilla sugar, if desired.

    Chill for 10 minutes before baking to hold the shape.

    Bake for about 28-32 minutes or until they’re golden brown on top and around the edges. Rotate pans halfway through baking. Remove from the oven and allow the hand pies to cool on the baking sheets for 5 minutes, then transfer to a wire rack to cool until ready to handle. You can serve warm or at room temperature. If desired, serve with a drizzle of warm Pumpkin Spice Syrup.